

This is like installing an app from App store. That simple compared to the traditional PeopleSoft installation.
And you are done.
- First, get your infrastructure ready by signing up for the Oracle Cloud instance.
- Second, Get the latest image from Oracle Market place and click to install.
And you are done.
I opted for a paid subscription due to several benefits compared to a trial instance of the cloud. So there is a bit of cost involved in this if you wonder.Below are the steps to get your own PeopleSoft instance.
Step 1: Buy the compute cloud service

I didn't want the 1 year subscription nor could chose the pre-paid. So the obvious option was - Pay As You Go (PAYG).
However, there are ways to reduce the cost based on your requirements. For example, I wanted a single instance with 1 CPU, for 50 hours (instead of the default 120). That brought down the cost by few pounds.
However, this installation needs 300GB of space instead of 128. This brought the estimate back to the old one.
I was't worried about the back-up. So brought down the requirement to 5 GB. Kept the monthly data transfer to 1 GB instead of 10.
Now the monthly estimate was £18. Looks good.

Now pay and buy the subscription. Then wait for the activation email from Oracle Store.

Step 2: Activating the account & Services
You will receive the activation email from Oracle after some time, which will have the below details

This email will have the access details:
- User Name and Temporary Password: Use these credentials to sign in to My Services and your Service Console URL. This will have a temporary password. Change this during your first login. Also have your identity domain ID.
- My Account Administration: Use My Account to manage services from all identity domains and data centers, activate services, monitor service status, view historical usage data, and add account administrators. By default, you will be the account administrator, unless you want to add more admins. Login using your Oracle ID and password
- My Services administration: Add and manage user access to the service, monitor your service status, view current and historical usage data, see maintenance notifications, and add or delete contacts for these notifications.
- VPN Account: If you want to use VPN to access the instance.
By default, this Oracle IaaS Public Cloud Services subscription will have the below details:
- Oracle Storage Cloud Service
- Oracle Ravello Cloud Service (Which is the VM part of the architecture)
- Oracle Compute Cloud Service
- Oracle Container Cloud Service (In case you love to use Docker containers for portability)
- Developer Account (Standard Developer Service): Streamline your development and deployment. SLC management tool.
It might take sometime to get these services up and running. Once you have these up, proceed to step 3.
Step 3: Generating and Uploading SSH Keys
Download the puttygen on your windows or linux. Then keep a note of the public and private keys. Then sign into the Oracle Services, and go to the Oracle Compute cloud - Services page

Step 4: Setup the HTTP access
This step involves the creation of
- Security List - This is a group of cloud instances. And enable port 8000
- Security Application - Maps the port and port type (TCP)
- Security Rule - Enables the security application
Step 5: Get the PeopleSoft Image from Oracle Market Place

Locate the image that you need on the market place and like installing a mobile app - click on Get App. The image will get installed.

Step 6: Set up the instance
This involves connecting this new instance with all the previous setups like SSH, Storage, shape etc.
Once this is done, the instance status will be shown as Starting. Wait for some time, till it shows Running.

The above screenshot shows the status as Shut Down so that I can control the usage hours. If you want to start it, click the start button.

Step 7: Accessing the instance
If the instance is up and running, the above screen will show the public IP. Use it in the below URL format and you have your instance URL.
If the IP is 1.2.3.4 then your PeopleSoft URL will be
http://oc-1-2-3-4.compute.oraclecloud.com:8000/ps/signon.html
Note that the . in the IP will be - in the URL. And you have your DEMO instance up and running without hassle.

Step 8: Be careful of your usage
This is a PAYG mode. So you will be billed per hour for the services. Make sure that the services are shut down when you don't need it.
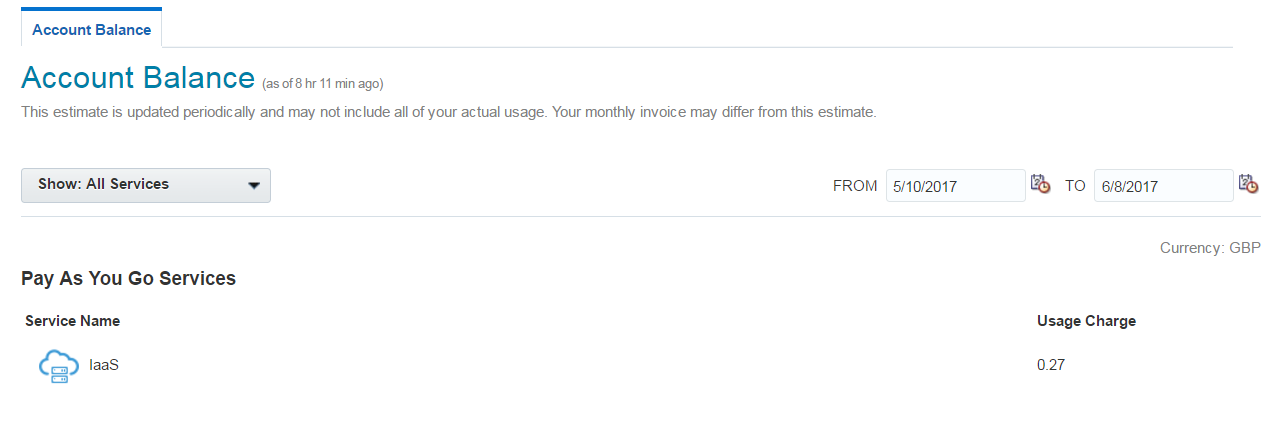
Your usage can be monitored from the My Account page.
Got a client demo? Don't worry about the instance anymore.
Thank you for sharing such kind of precious information with us.It really useful for many of them like me.
ReplyDeleteSoftware Testing Training in Chennai
Software testing Training in Velachery
JAVA Training in Chennai
Python Training in Chennai
Hadoop Training in Chennai
Selenium Training in Chennai
Software Testing Training in Chennai
Software testing training in OMR