
There are several scenarios where a certain size of an image is expected for the best results.
Couple of examples are:
- Photo uploads with a standard size expectation for official document prints,which the user might not stick to, regardless of the image size instructions provided.
- The images should adhere to the standard image size for the best UX experience, which is again managed by the user.
These typical scenarios can result in non-satisfactory results if a control system is not in place.

Sigh!!! Captain is not uploading it right.
The best method to keep the standard in place is to provide the ability to the user to crop their images upon the upload (all the new websites does this anyway to control the profile picture size for example). PeopleTools has new set of functions which can be used to implement this feature.
Here is how:
 |
| User clicks on the 'Upload Your Photo' button |
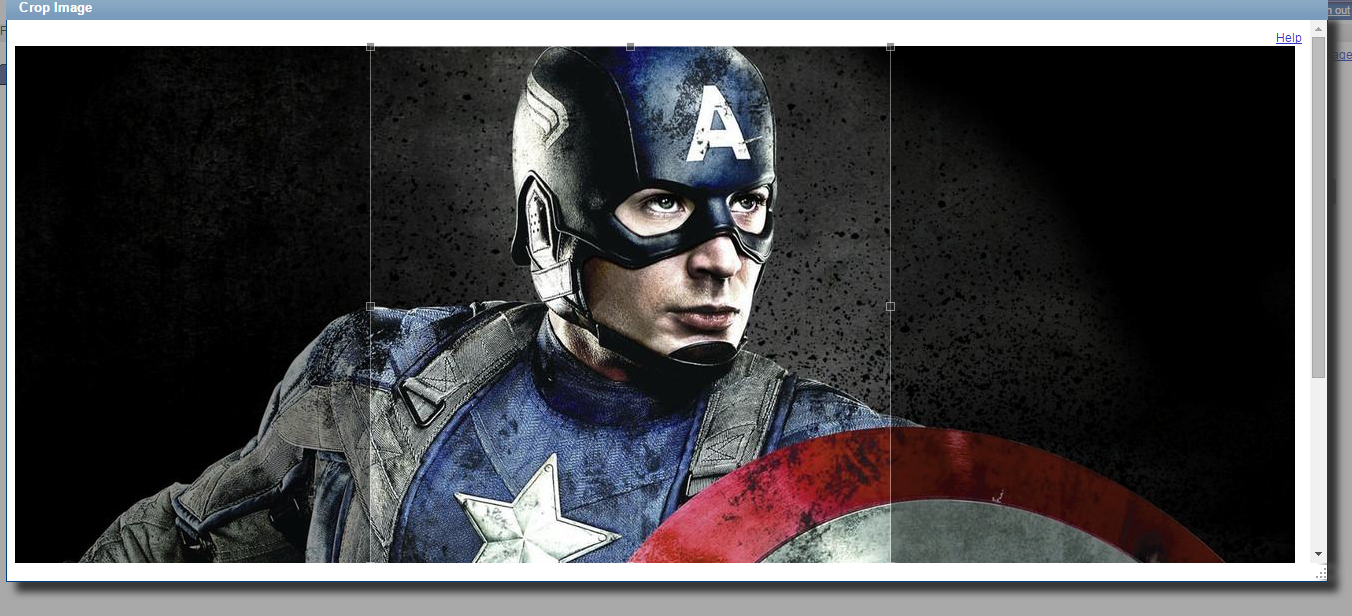 |
| The click launches the crop window with the crop frame which the user can drag or expand to select area within the restricted size constraints |
 |
| Click OK button to complete the crop |
 |
| Then you have the cropped version of the image ready to store in the database or file server |
- InsertImage(RECORD.FIELD);
- This function assigns the image to a field on the page, which then can be referred in the crop function
- CropImage(RECORD.FIELD (source: the above one), RECORD.FIELD (target: which can be used for display and save), &width, &height);
- This function launches the crop interface, which is the best part of this feature.
- &width, &height controls the crop frame. Set if for a specific situation to be handled.
That's it.
No comments:
Post a Comment